Hey guys...
I've been getting a lot of questions about how I turn my sketches into full paintings. So I decided to make a step by step tutorial on my process. I use a transfer rub method using tracing paper. It can get a little tedious but I prefer it to using a projector because I feel like the transfer is a little more precise.
STEP 1.
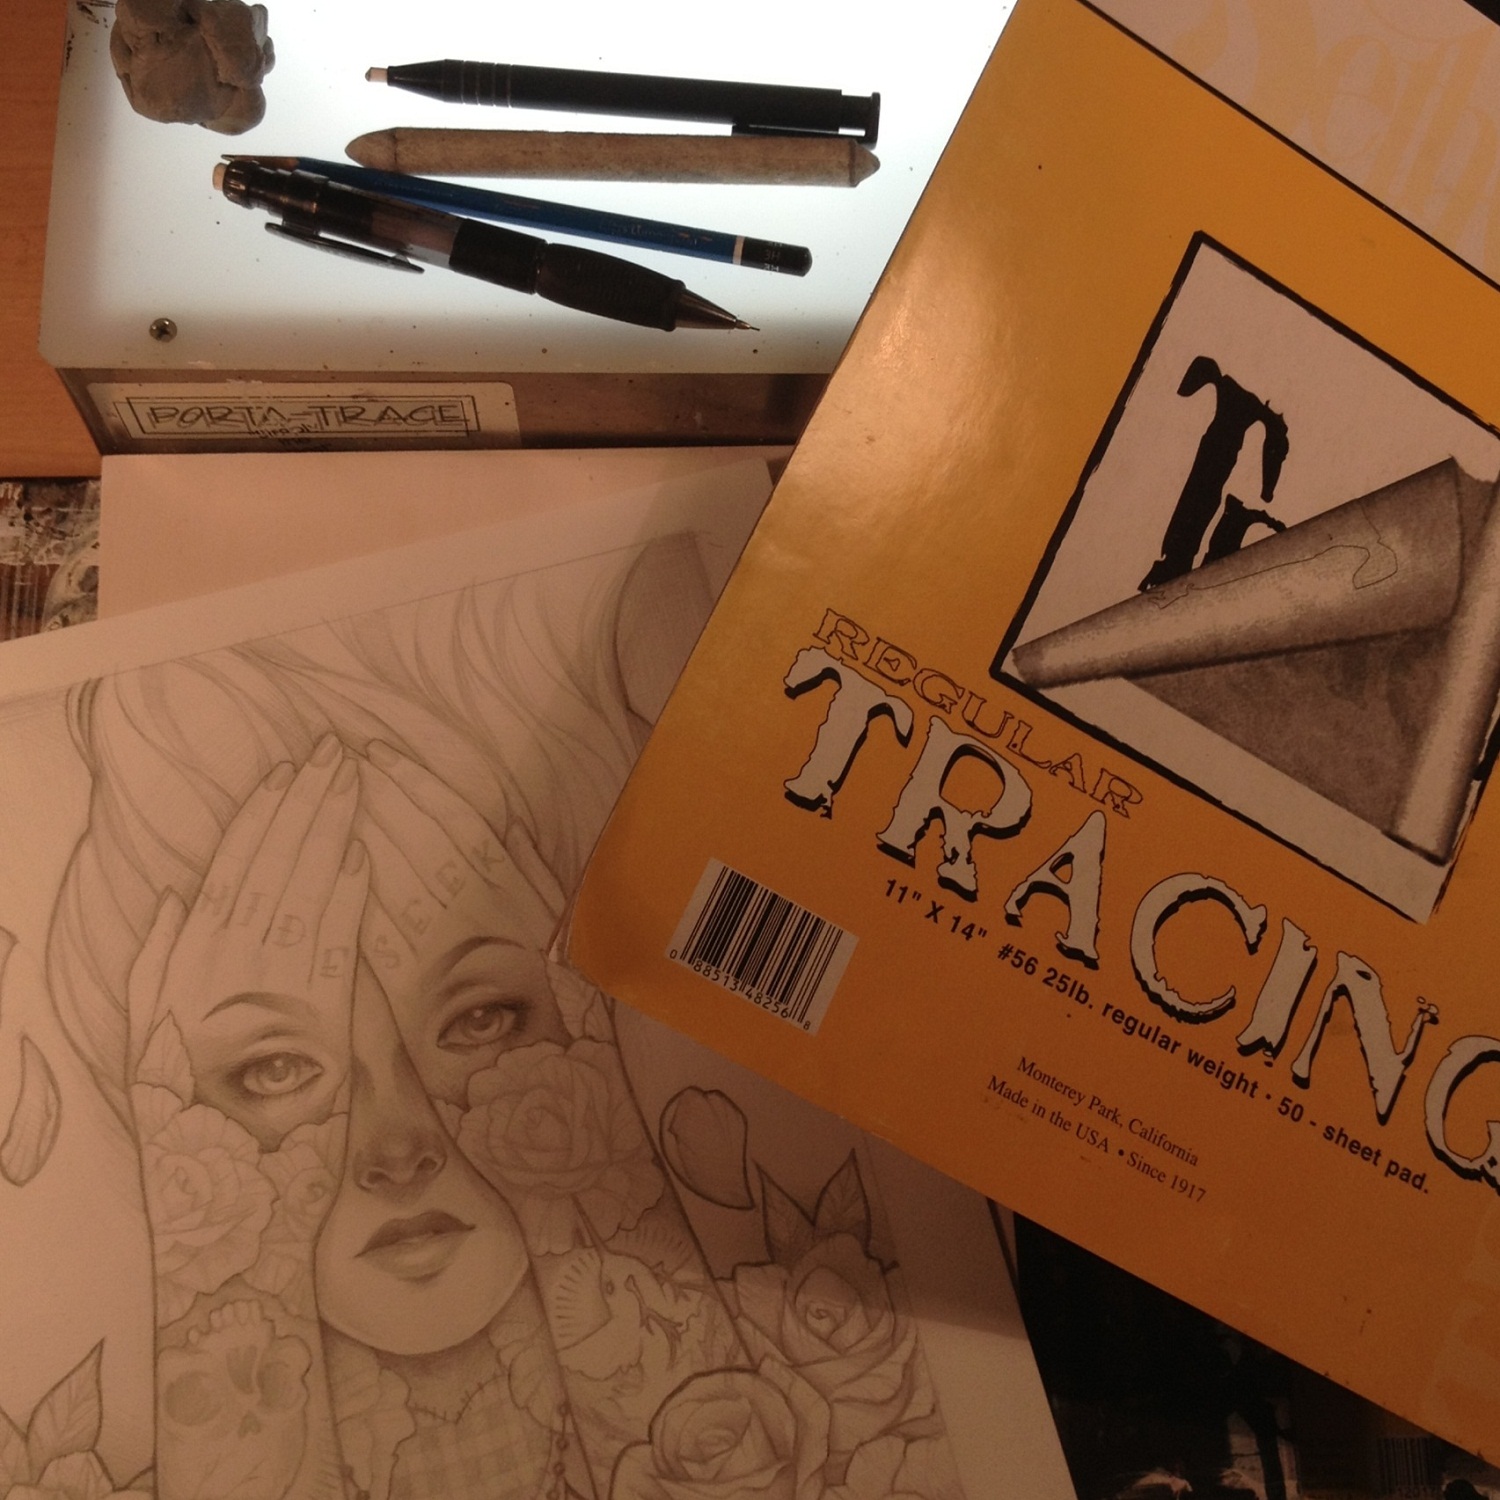
First I make sure that I have all the tools that I need to make a transfer sheet. To transfer this piece I'll be using the original sketch, a lightbox, tracing paper, a soft lead mechanical pencil, a hard lead drawing pencil, a blending stump and the prepped wood panel that I will be transferring the sketch to.
STEP 2.
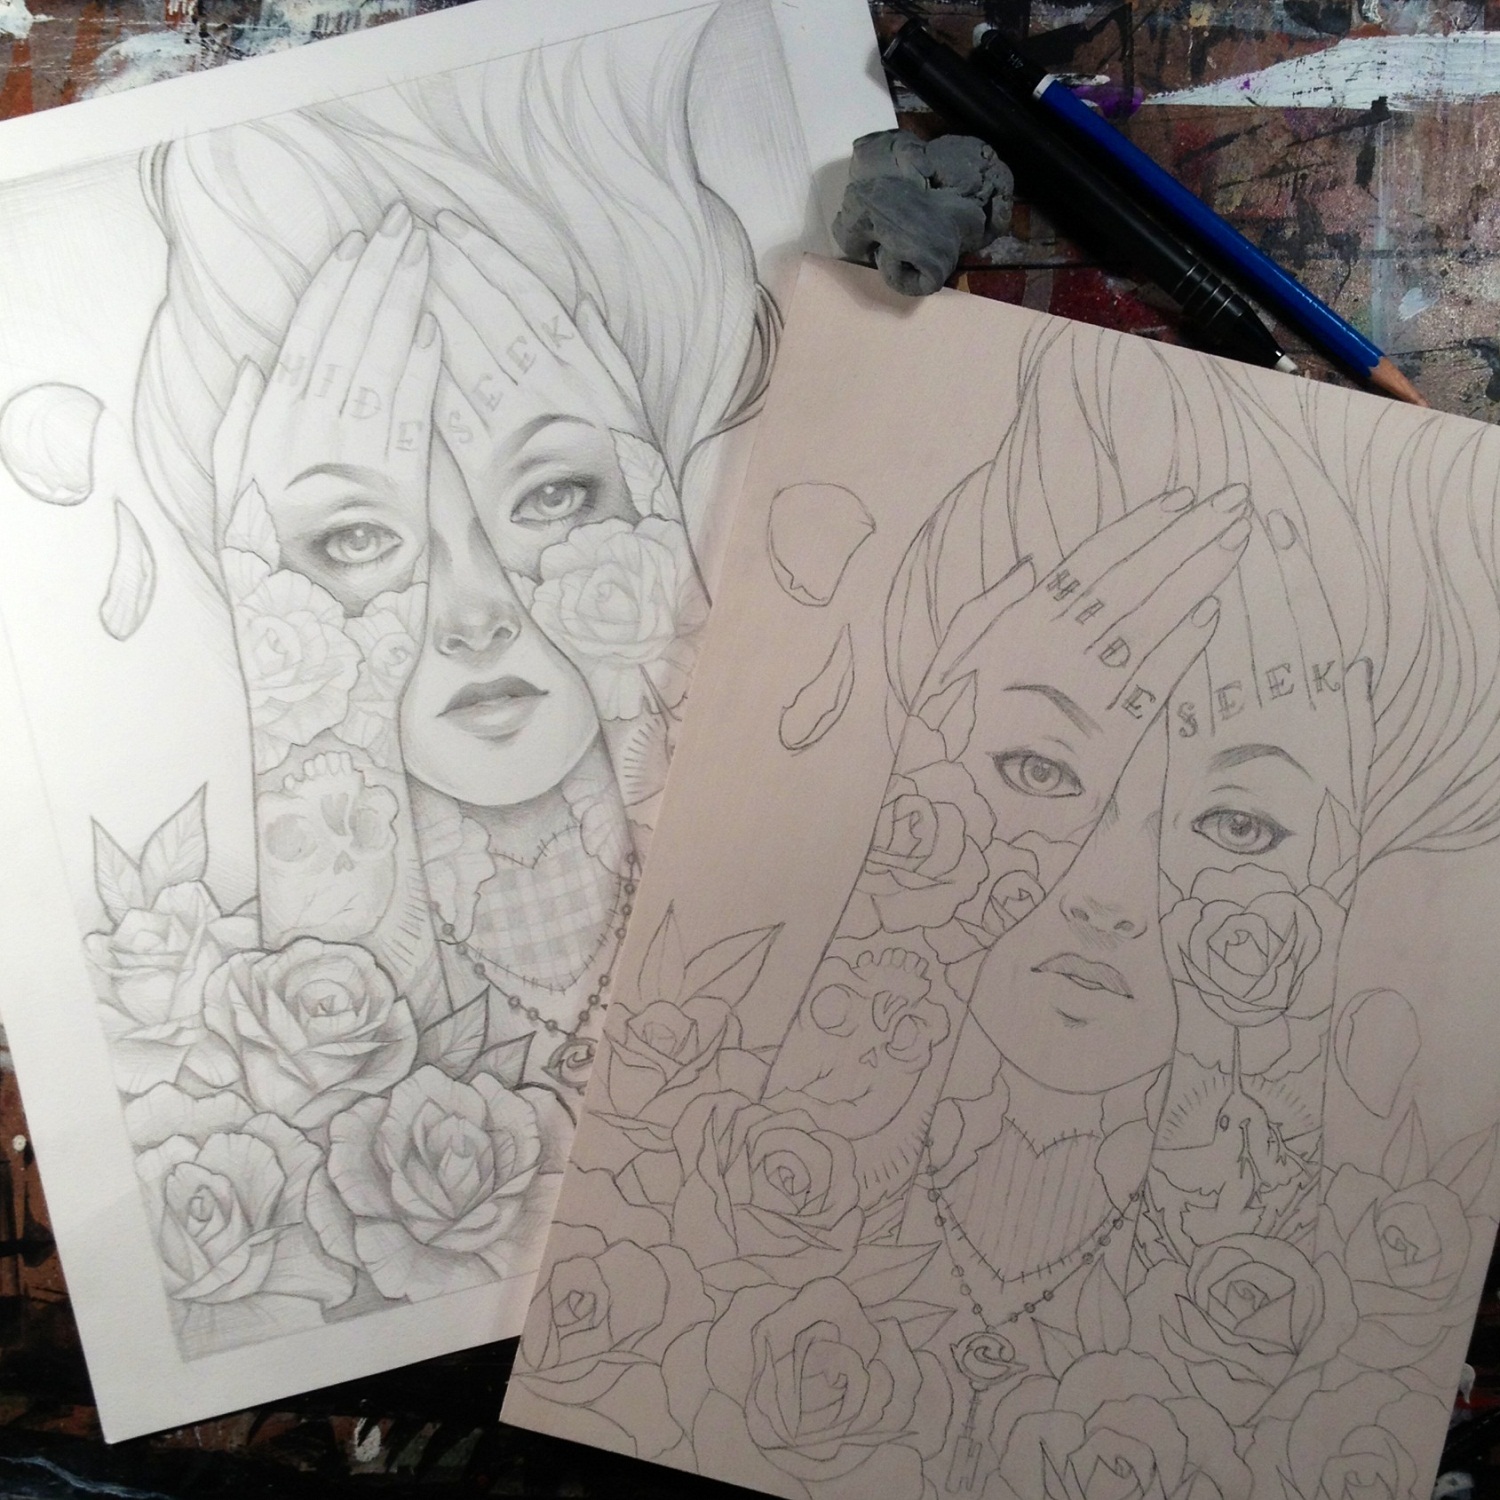
To make the transfer sheet I flip the original sketch (drawing side down) onto the light box, place a sheet of tracing paper over it and begin to trace. I like to use a mechanical pencil with a soft lead for this part for two reasons: a softer lead will transfer easier and a mechanical pencil will keep the line work consistent without having to sharpen it. When making the transfer sheet, I try to keep the lines as simple as possible to make the transfer clean and easy. When I'm done tracing I end up with a reversed, line drawing copy of the original sketch.

STEP 3.
Once the tracing paper transfer sheet is made, I flip it back over (pencil side down) onto the wood panel. I secure it with masking tape to make sure that it doesn't slip or shift during the transfer. I use a blending stump to rub over the entire drawing to transfer the pencil lines onto the wood panel. When the transfer is finished, the lines left on the wood panel are usually somewhat faint and can wipe off fairly easy so I go over the entire drawing with a hard lead drawing pencil (I use a 4H) to secure the image.

STEP 4.
Now that the transfer is done, I clean up any lines or mistakes and then I'm ready to paint. I like to keep the original sketch nearby to use as a value study so I know where all of the shadows and highlights will be.
And that's about it. Thanks for stopping by and I hope this answered some of your questions. Keep in mind though, there are many ways to transfer a sketch to another surface to get it ready for paint. This is just the method I prefer. Take care everyone! Until next time!
Glenn
In Glenn we trust.
ReplyDeleteYeAH!
~Sven
Hey Glenn! How do you suppose this technique would work on canvas? or watercolor board?
ReplyDeleteIt would probably work great on watercolor board, but I'm sure you'd have to be a lot more delicate with canvas.
DeleteI do a very similar technique on canvas only sort of backwards. I scan and print the drawing, usually lightening the line work, rub the back with 4b pencil tape the paper down and trace all the lines. From there it's the same, tighten up the transfer with an hb and lay in some tones right there before laying down a light sepia underpainting.
DeleteThe lightened line work helps me see where I've traced.
DeleteOoohhh okay! I've used the black graphite transfer paper before with good success! Thanks for posting this. I follow you on IG and love your artwork.
ReplyDeleteWhat an easy way! I had to transfer onto canvas yesterday and ended up with using dry pastel on the back of the paper to make the transfer. It worked, but it became a bit dirty though. Have to buy these tracing paper!
ReplyDeleteHi Glenn, I've seen your art before and loved it but just discovered your blog, thanks so much for your generosity in sharing your process - it's awesome to find a good resource! I was wondering whether you've used graphite transfer paper before, and whether/why you prefer this method? Thanks!
ReplyDeleteOmg thank you for this tutorial.. I've left so muc work in sketchbooks because i couldnt think of how to tranfer it to wood..
ReplyDeleteI use white graphite paper for color bkgd. And I found a huge box of old carbon paper - works great!
ReplyDeleteI still don't understand....Sorry, I'm not use to the materials, so I don't get it :(
ReplyDeleteWhat kind of paper do you use on the original sketch? Most of my sketches are on thick hot press water color paper that I think will not be transparent on the light box.
ReplyDeleteI usually use bristol smooth or bristol vellum. It works great with the light box :)
DeleteThanks so much!!! You are a great inspiration! I am so glad Facebook suggested your page. Sooo motivated right now! Wish you the best!
DeleteThis is brilliant. I remember doing this in art school and totally forgot about it because I've been doing digital painting for a while now. Thanks for the reminder, I'm trying this out real soon!
ReplyDeleteThis sounds easier than the way I've done it before, tracing right side up, rubbing graphite all over the back of the tracing paper, then retracing right side up to transfer...
ReplyDeleteHi Glenn! This was super helpful, thanks! Could u do a tutorial on how you paint hair?
ReplyDelete